Creating handmade dog clothing is a delightful way to show your furry friend some love while ensuring they stay stylish and comfortable. Whether you’re looking to craft a cozy sweater, a cute dress, or a functional jacket, the process can be both fun and rewarding. In this article, we will guide you through the steps to make handmade dog clothing, helping you unleash your creativity while providing the perfect fit for your pet.
Gather Your Materials
Before diving into the project, gather all the necessary materials. You will need fabric, a sewing machine (or needle and thread), scissors, measuring tape, and any additional embellishments like buttons or patches. For fabrics, consider options like cotton, fleece, or knit, which offer comfort and flexibility. Choosing the right materials is crucial, as it affects not only the comfort but also the durability of the handmade dog clothing.

Measure Your Dog
Accurate measurements are essential for creating well-fitted handmade dog clothing. Begin by measuring your dog’s neck, chest, and length from neck to tail. It’s helpful to write down these measurements for reference. Be sure to account for your dog’s breed and body shape, as this can vary significantly. Taking the time to measure properly ensures that your finished garment fits comfortably, allowing for easy movement.
Choose a Simple Pattern
For beginners, starting with a simple pattern is advisable. You can find free patterns online or create your own by drawing a basic shape on paper. Common styles include simple t-shirts, hoodies, or even capes. If you’re feeling adventurous, consider adding custom elements like pockets or hoods. Remember, simplicity is key when making handmade dog clothing, especially if you’re new to sewing.
Cut the Fabric
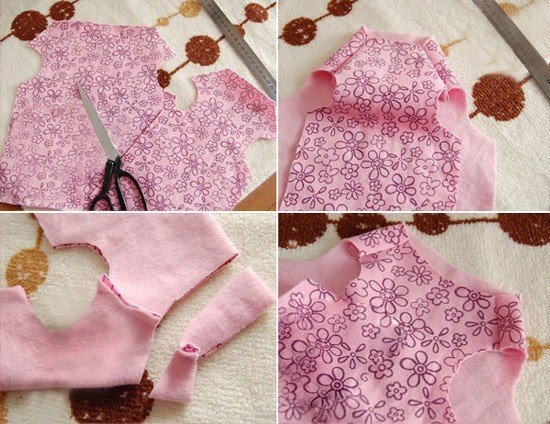
Once you have your pattern, it’s time to cut the fabric. Lay the fabric flat and pin the pattern to it, ensuring it is aligned properly. Carefully cut around the pattern, leaving a little extra fabric for seams if necessary. Be cautious during this step to ensure clean, even cuts, which will make sewing easier and yield a more professional-looking finished product.
Sew the Pieces Together
Now comes the exciting part—sewing! If you’re using a sewing machine, set it up with the appropriate thread and stitch type. Begin by sewing the main seams together according to your pattern. If you’re hand-sewing, use small, even stitches to ensure durability. As you sew, regularly check the fit by occasionally trying the garment on your dog. This allows for adjustments to be made if necessary, ensuring maximum comfort.
Add Finishing Touches
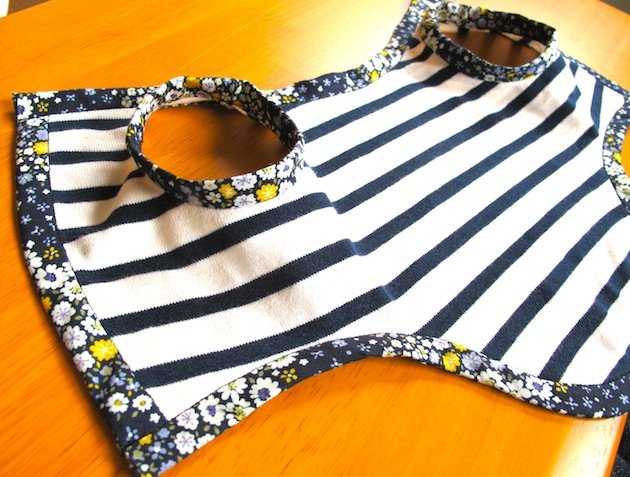
After assembling the basic structure, it’s time to add finishing touches to your handmade dog clothing. Consider hemming the edges to prevent fraying, or adding embellishments like appliqués, patches, or even custom embroidery. These small details can elevate the look of your garment and make it uniquely yours. Just be mindful that any added elements should not cause discomfort to your dog.
Test the Fit
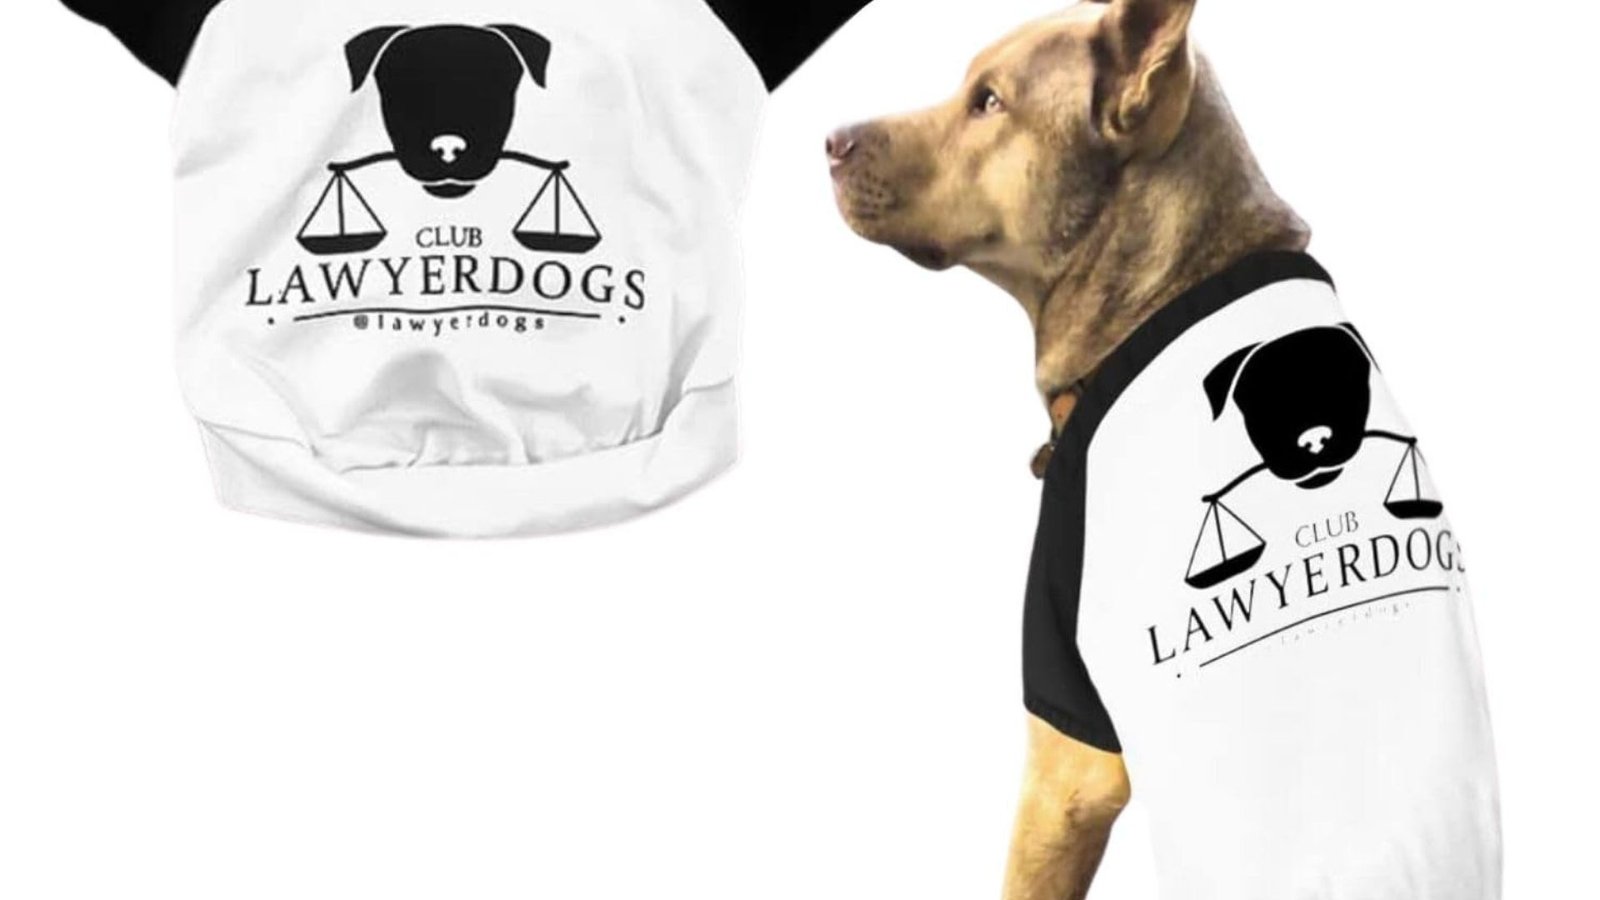
Before letting your dog wear their new clothing, conduct a test fit. Put the garment on your dog and observe how they move. Look for any areas that may be too tight or restrictive and make adjustments as needed. A well-fitting piece will allow your dog to run, jump, and play comfortably, enhancing their overall experience with their new outfit.
Conclusion
In conclusion, making handmade dog clothing is a rewarding and creative endeavor that allows you to craft unique pieces tailored specifically for your furry friend. By gathering your materials, measuring accurately, choosing a simple pattern, and adding personal touches, you can create stylish and comfortable garments that your dog will love. Enjoy the process, and embrace your creativity as you celebrate the bond with your pet through handmade clothing!


